How to add authentication to you NextJs Application using Clerk
In this tutorial, we are going to create a new NextJs application and add Clerk authentication to manage user sign ups and sign ins, as well as protected routes. Let’s begin.
Step 1
Create a new NextJs application using the following command:
npx create-next-app@latest next-clerk-authThis will create a new NextJs application for you called next-clerk-auth. Feel free to give this a different name if you want.
Step 2
Open up your newly created application using your favorite code editor.
Step 3
Navigate to the Clerk Website and create an account with them, or sign in if you already have an account. After a successfull sign on, you should be redirected into the clerk dashboard page similar looking to the one below:
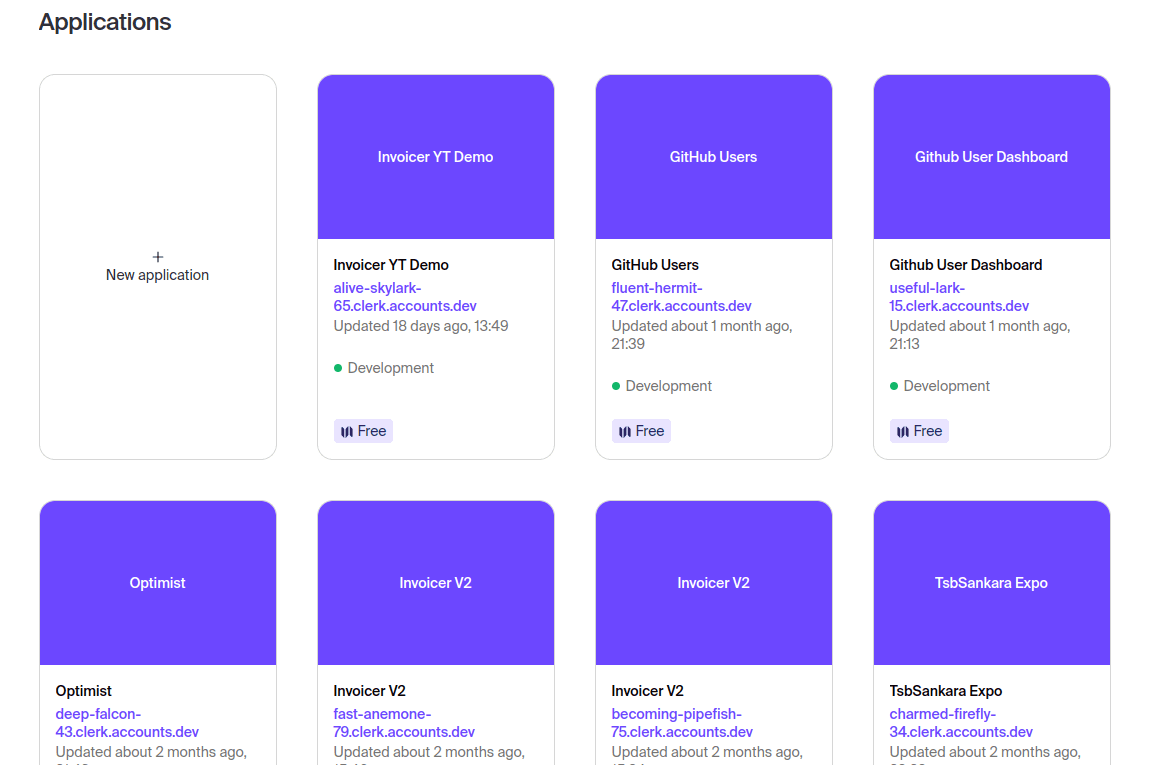
Of course, if you have never used Clerk before, you won’t have any applications on the landing page.
Step 4
Install the Clerk SDK in your NextJs application using the following command:
npm install @clerk/nextjsStep 5
Go ahead and create a new Clerk application and give it an appropriate name. The UI is intuitive and easy to follow and the log in settings can remain as default - and can be modified later in your settings.